
Blog · How-to
Mounting a Wall Tool Organizer: Studs and Clearance
 By Bobbi Dempsey Published
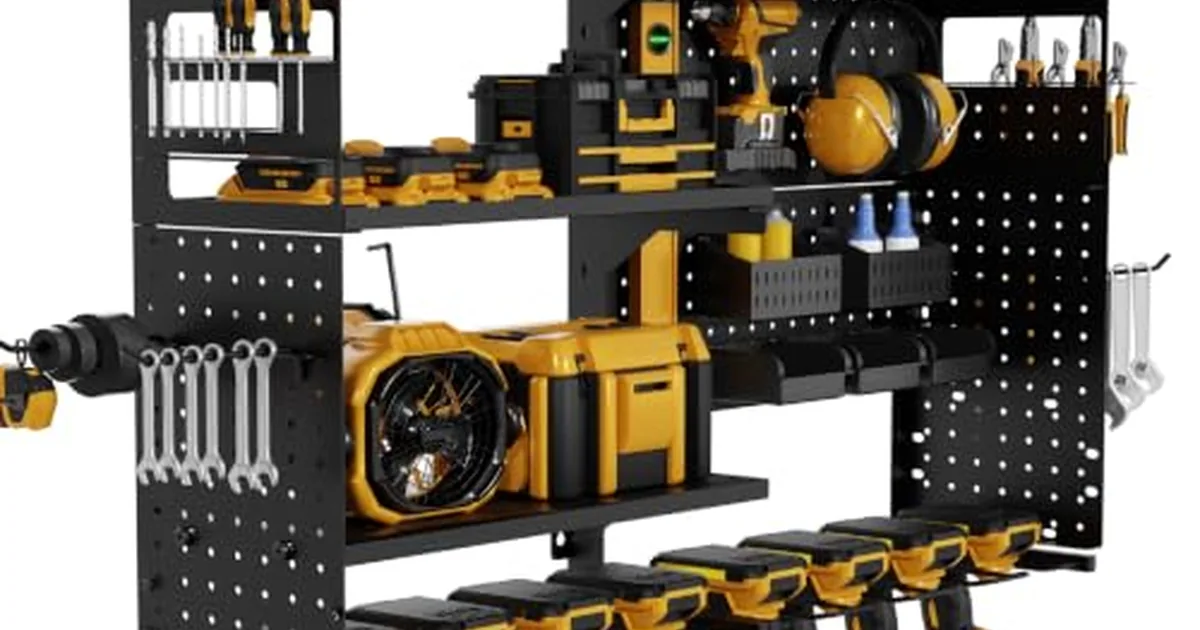
A wall-mount tool organizer only works when the rail hits structure and the tiers clear drill handles. Soft install order below; follow the hardware guidance on the shop page you buy. Measure the clear bay first, then pick the rail width that fits without crowding a door or vehicle path.
Numbered mount sequence
- Measure clear wall width. Confirm the rail fits between doors, windows, and other racks. The 33" Wide 4-Tier Tool Organizer suits tighter bays; the 49" Wide 4-Tier needs a wider clear span. Tape the outline on the wall so you can see conflicts before you drill.
- Find studs or plan a rated French cleat. Do not hang a fully loaded rail on drywall alone. Shop-page language on the 49" parent points at A572 Grade 50 steel intent; the wall still needs solid anchors into structure. Mark each stud center so the rail lands on at least two.
- Dry-fit height. Hold the rail so drill handles clear the next tier and chargers do not block hooks. Stand in your normal reach zone—mid-chest height is a common starting point—then raise or lower until the longest drill clears.
- Mark and level. Keep the rail level before drilling pilot holes. A short torpedo level across the top edge is enough; recheck after the first fastener so the rail does not walk.
- Mount with the hardware the shop page calls for. Re-check level after the first fasteners. Snug, then finish torque once every hole is started so one corner does not pull the rail out of square.
- Load light to heavy. Keep heavier drills on the lowest reachable tier and lighter batteries higher so the wall load stays predictable. Add tools in stages rather than hanging the full kit in one pass.
Why start with the 33" on tight walls
The 33" four-tier parent keeps the same four-tier idea as the wider sibling in a narrower footprint. Use it as a secondary bay beside a workbench when the long wall already holds lumber racks. If you later need charging shelves, add the 34" 5-Tier Organizer + Charging on an adjacent stud bay rather than overloading one rail. Split walls also work: hang drills on the 33" bay and keep chargers on the five-tier once an outlet is mapped.
Clearance checks before you drill
- Door swing and vehicle path in a single-car garage.
- Outlet height if you plan the charging parent nearby.
- Handle swing on the longest drill you will hang.
- Head clearance under open cabinets or a loft edge above the rail.
- Cord drape so chargers do not cross the walkway when plugged in.
Walk the bay with the garage door open and closed once before you commit to holes. A rail that clears the car with the door up can still catch a side mirror when the door is down.
After the first week
Recheck anchors after a few days of real loading. If a fastener feels loose, stop adding tools and reseat into the stud or cleat before the rail sags. This is soft garage guidance, not a torque or stud-spacing lab recipe. Confirm mount details on the parent you ordered. Layout tips continue in the STURDIFLOW review hub and the tool organizer guide.